

Hello everyone, hope you're all having a good week so far.
Thankyou for your visits and comments on my last post. Nothing much has happened here since my last post, just life puttering along all too quickly as we race from one weekend to the next, with each day full and busy of I know not what, with hopefully a few hours of finishing something off or making something new. I hate a day when I have nothing to show for it creative wise.


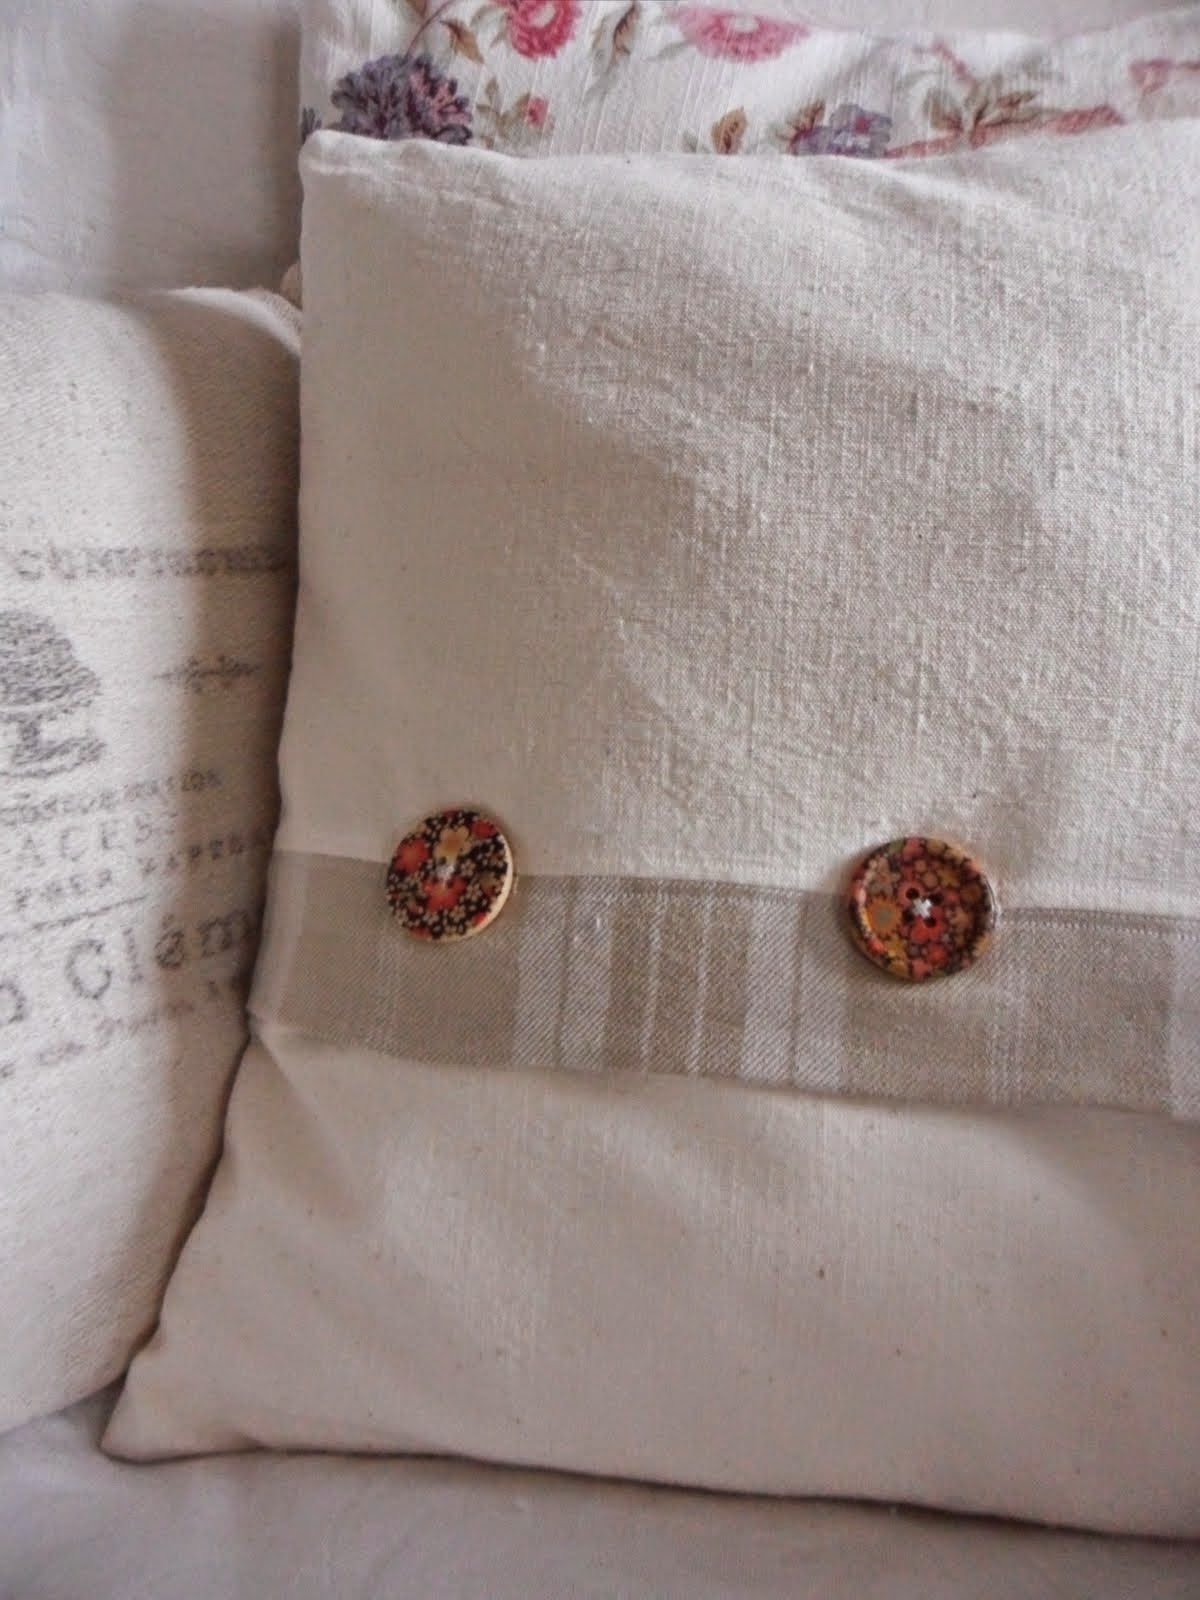
Since last here I finished the first of the stag cushions including sewing on the buttons. I hate doing buttonholes so when I do want to have buttons on a cushion, I have my own way of doing them which I find much neater than using my button hole attachment and the 3 stage sewing process.
I do "in-seam" buttonholes, where I add a strip of fabric to the back, either a contrasting band of fabric or it can just be the same as the rest of the back, and then its just about the measuring and neatening of seams. This way I can also make a feature of the cushion back.

Below is a tutorial if you have never tried this method and hate fiddling around with machine made buttonholes like I do, or are never quite satisfied with them.
I use this method when doing a simple envelope closure for a cushion back.
You will need to have cut out your cushion front and two back pieces that overlap, including allowances for seams. You will then be adding a buttonhole strip as per the tutorial. Most of the photos that follow show the bottom piece of the cushion back too even though the tutorial does not deal with the final cushion assembly.
Tutorial - How to make In-seam Buttonholes
Step 1 - Cut Buttonhole Band
Cut an extra strip of fabric (the buttonhole band) to the required size.
This will be the same width as your unfinished cushion cover and as deep as you want it be. You need to allow for the joining seam and for folding it back on itself and tucking under to neaten the raw edges.

For example I cut my buttonhole strip about 18" long by 4" deep, which gave me a finished band width of 1 1/2" wide. This worked out at 3" for the band (it will be folded lengthwise later) plus two x 1/2" seam allowances. (1/2 " allowance to join to main cushion back and turn back on itself, and 1/2" to neaten seam when folding band in half and finishing off by the buttonholes).
All will soon become clear!
Step 2 - Mark buttonhole placements
Pin your buttonhole strip to the bottom of the back top half, right sides together (see photo below).

Taking a tape measure and pins, find the centre point of the seam and mark it.
For three buttonholes, the centre point will also be the centre of the middle buttonhole.
(NB If you are using 2 or 4 buttons then you will not need to find the centre point but can just measure between the two seam allowances and divide it by 3 or 5 respectively to find the points to make buttonholes).

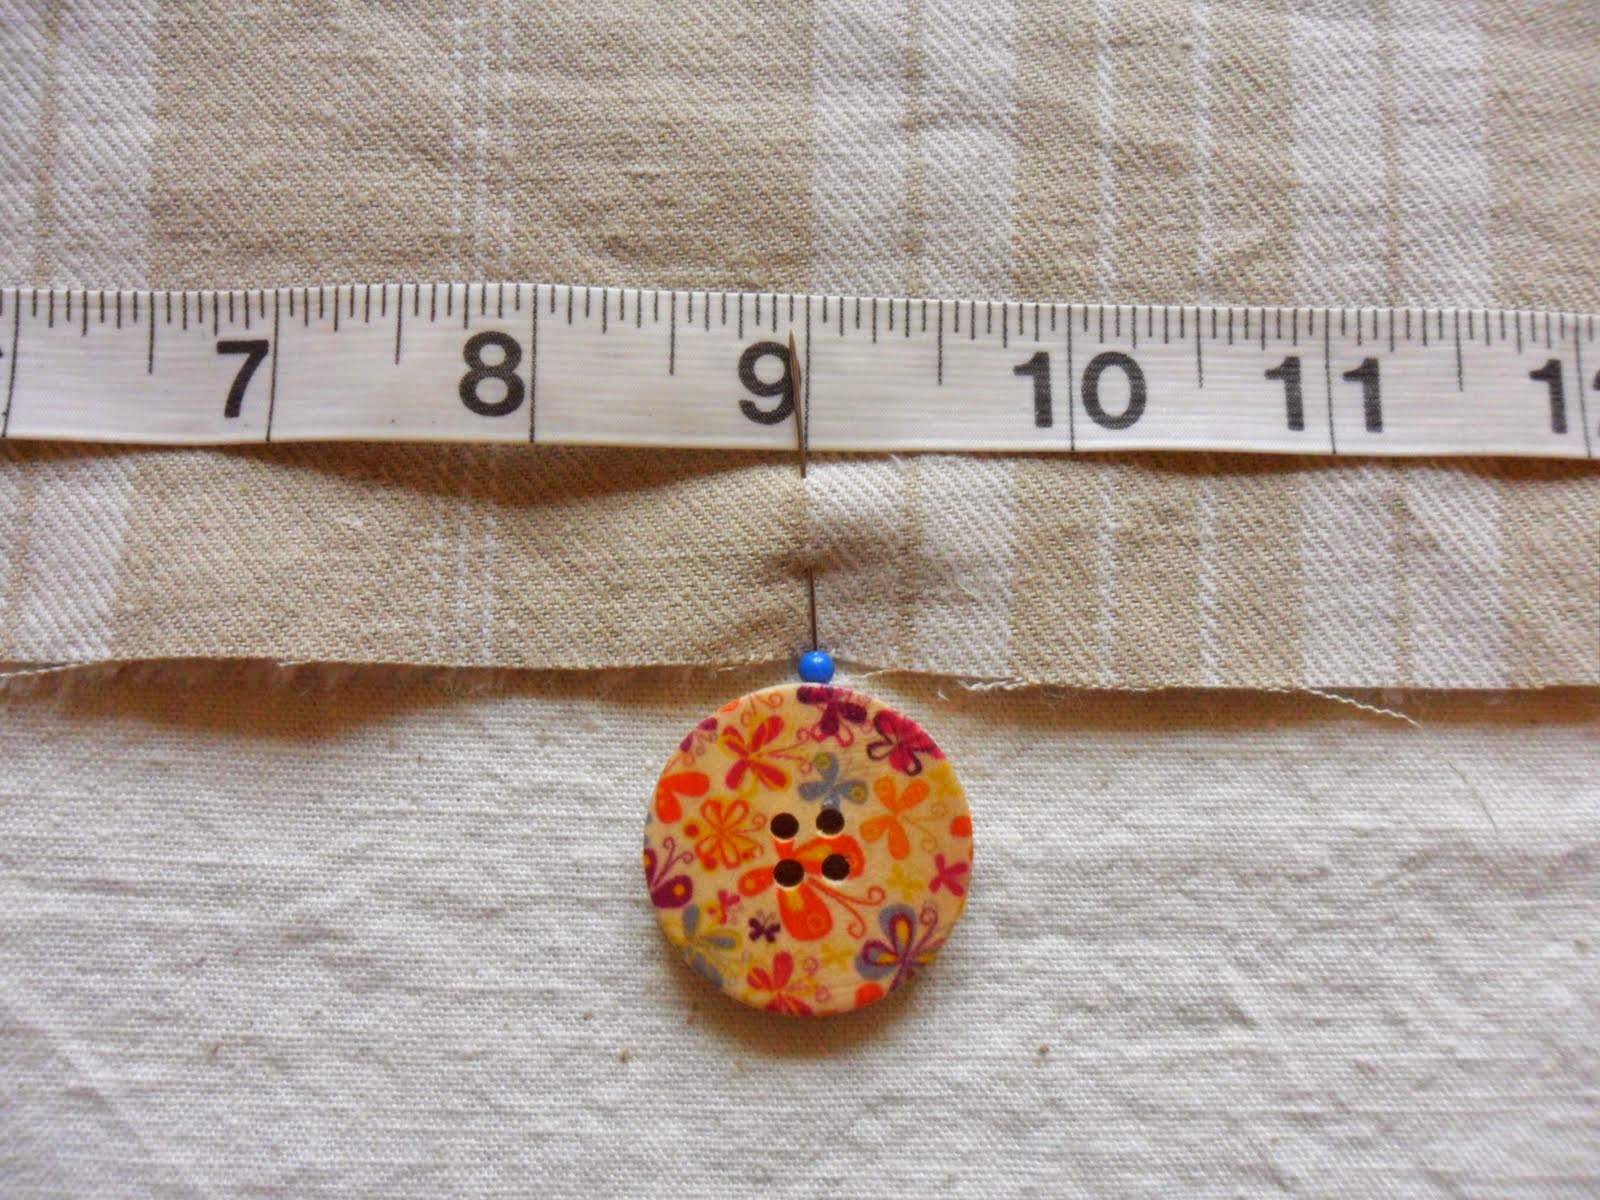
Measure and mark out where you want the buttonholes to be and how wide they need to be (measure button and add a bit extra) to allow your chosen buttons to fit.
For three buttonholes, simply measure the half way point between the centre point and the side edge on each side, excluding the side seam allowances. (ie. measure from centre point to a point 1" or 1/2" (depending on your seam allowance) in from each raw edge, and find the halfway point between them).
The half way points will be the centre of each buttonhole. Place a button there and mark the buttonhole width with a pen or pins either side (see below).

Close up below - you will be stitching along the bits between the buttons and vertical pins in the next step!

NB: Make sure you allow for a good half inch seam where you join the buttonhole strip to the top back as you will be folding the allowance back to neaten it later.
Step 3 - Stitch Seam in between buttonholes
Sew along seam and when you get to the start of each buttonhole, reverse and then go forward and backwards several times to strengthen the seam either side of the hole. Repeat the other side when you carry on sewing the seam and repeat at every buttonhole.
When finished stitching seam do NOT trim back seam allowance! You will be neatening these in the next step.
Step 4 - Neatening seam edges
Next step is to neaten the seam edges. First do the one on the top back.
Press open the finished seam. Turn under the top back edge (the cream one in the picture), pin and stitch along the length of the turned under edge (see photo below).

Next neaten the buttonhole band side (the darker one in the photo). Turn up the buttonhole band lengthwise on the wrong side until it meets the buttonhole seam then turn under approx. 1/2". Pin down just below the buttonholes so that you are not covering them up.
Stitch along turned under edge as in photo below.

Nearly done now!
Step 5 - Strengthening the Buttonholes
Next turn the cushion cover back (now with adjoining buttonhole band) to the right side.

For each buttonhole, stitch either side of the buttonhole vertically backwards and forwards a few times close to each end of the buttonhole, across both turned under seams. This will further strengthen the seam by the buttonholes.
Before you stitch it is a good idea at this stage to try each button through each hole. If the buttonhole is a bit large you can stitch closer to the hole to tighten it a little, or if its a bit tight then push the button through a few times then reinforce each end with stitching a little further away from the buttonhole.
Press the whole back carefully along the buttonhole strip and seam seam and you're done.
And thats it!

You can now finish making up your cushion cover as usual, making sure that the buttonhole band piece is the outside top flap for your back envelope closure.
When the cushion cover is made up you can then lay it flat, line up the buttons under the buttonholes and sew them in place on the lower back piece.
* * * * *
On the xmas sewing front, I've made some tree hangers.........

...some from vintage French ticking....

......some from vintage English floral linen......

and some from a lovely slubby natural Irish linen.

I will sell them as trios, one of each design.


I also finished off these cross stitched hearts, with snowflakes or trees, and which are now available in my Etsy shop here
There are three different designs, one of which was taken from a little vintage pincushion I have (see three photos up), the other two designs are ones I made up after sketching out roughly what I wanted.

The backs are single cross stitches which remind me of falling snowflakes.

We've had a few autumnal walks, and I took my new "grown-up" smartphone with me, hence the different shaped photos below!


Sunlight glinting on millions of cobwebs strung across the field - this is only a small part of the field but it was all over - and there were loose bits just drifting around - most strange! We found a couple of little money spiders on us so maybe they are what has made them?

Edited Thursday 20th November - Cobweb Update!
Just found this whilst googling about the cobwebs - this is not far from us, an hours drive in the next county. Yes, it is money spiders and the article and photos are worth a look.

Although the sky looks blueish here, within a very short time grey storm clouds built up and we got rained upon and drenched!
By the way, I am now on Instagram (pinkgillyflower) if anyone would like to come and say hi - I've found a few of you on there but I'm sure more of you are there somewhere!
Hope those of you interested find the tutorial helpful, have a good week!
How brilliant is that with the buttonholes!!! You are so clever!! Thank you for the tutorial. I love the cross stitched hearts as well, they are just adorable. I hope that they all sell really well for you. xx
ReplyDeleteThank you for a great tutorial Gill, I will try this when I finally get round to making some covers. Love your little trees.
ReplyDeleteJane xx
Wonderful tutorial you made it look so easy.
ReplyDeleteThe stitched hearts are very cute. :)
ReplyDeleteOne of the fields I walk through is covered in little webs sometimes too. It is quite bizarre how they all appear at the same time. x
Wow Gill, that is a clever way to make a buttonhole, thanks so much for sharing!
ReplyDeleteThose cobwebs are fascinating! :)
V x
I'm pinning this tutorial to save for future sewing, thank you :)
ReplyDeleteThere are so many lovely things on your blog already this month. You have been busy!
Thank you for working so hard and sharing this very useful tutorial. Definitely I will also try this method to sew buttonholes.
ReplyDeleteI hope your Etsy shop to empty quickly!
You have written such a thorough and clear tutorial, Gill! It's a great idea to make the buttonholes this way! Love all your makes shown here, and the countryside photos are beautiful.
ReplyDeleteEnjoy the rest of the week and have a happy weekend.
Helen xox
That's a great way to make the buttonholes - makes a very neat way of doing it. Thanks for showing us how to do it.
ReplyDeleteOh Gill, you create with talent and passion, I really admire you. I can't sew , I have no idea but you are very inspiring, I have to admit.
ReplyDeleteWe also have blue skies and high temperatures for the season.
Hope you are doing fine, my dear Gill!
Olympia
Thank you for your tutorial Gill. I will try to remember it for when I need it! Your Christmas decorations look really sweet. Hope you will sell lots of them.
ReplyDeleteHave a good evening.
Madelief x
What a useful tutorial, thank you. We shall be decorating the living room in the spring and I plan to redo all the cushions so I've bookmarked this.
ReplyDeleteGreat tutorial, I would have never thought to do button holes that way, you are so clever. I love the little Christmas tree hangers, sew very cute. Then there is the photos of the grassy meadow and the cobwebs, the way the wind was blowing or the cobwebs, I'm not sure, but it had the appearance of water. I wasn't sure until I read what you had written. Oh, that pillow with the stag is wonderful. Your blog is one of my very favorites, I am always inspired.
ReplyDeleteThanks so much - what an amazing tip. I've been making Christmas cushions, and have been lazy making envelope backs with ribbon ties. This tip will definitely be used on my next cushion. XX
ReplyDeleteI have always loved the fabrics and linens you use for your beautiful makes :)
ReplyDeleteBee happy x
Gill, what a beautiful solution. My buttonholer is headed into early retirement as of this minute! You always do such lovely work--the stag pillow, especially, is gorgeous.
ReplyDelete