


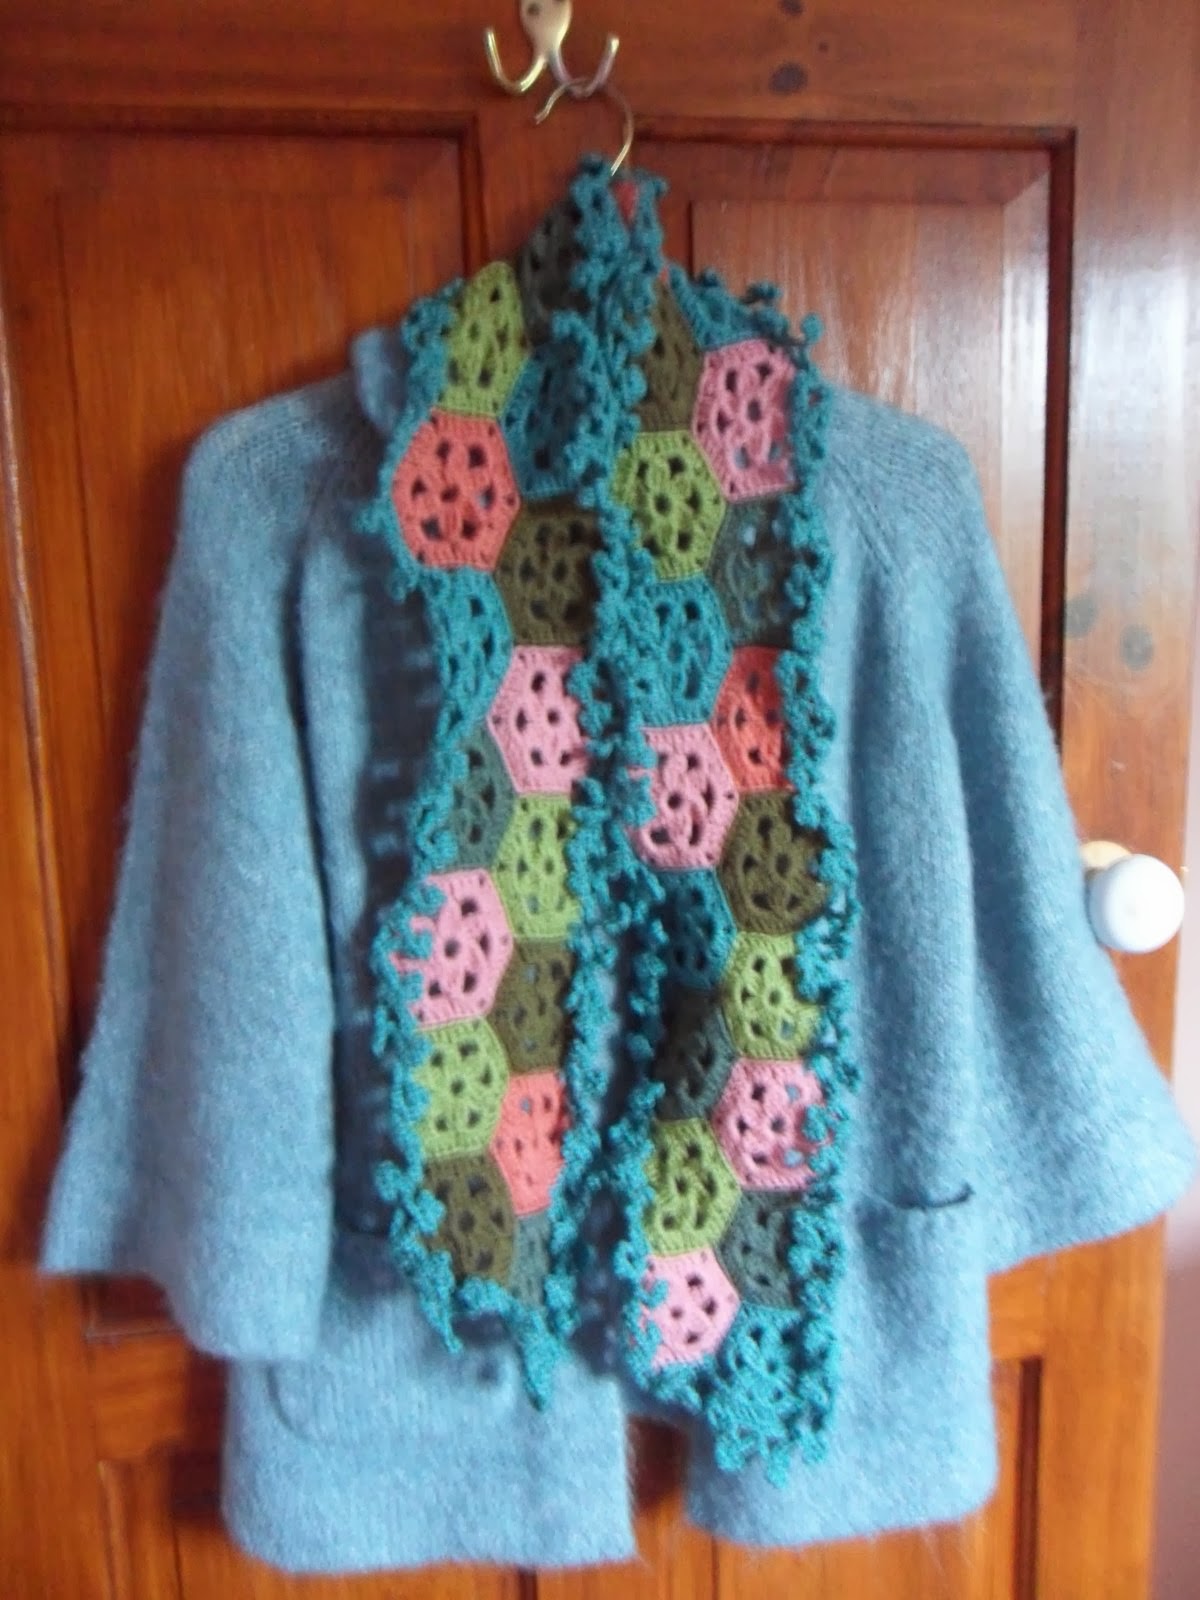

It's been quite a while since I've had a "ta dah!" moment with a crochet project!
The turn in the weather has fired my enthusiasm for some crochet, and as usual one project on the go is not enough.
So the cushions I mentioned in my last post have been abandoned for the moment in favour of the scarf I mentioned in same post.
As usual I threw myself into crocheting my chosen shape, a hexy, without much thought other than to produce as many of them as I could in as short a space of time, using yarn (DK) in my stash in the colours that took my fancy. (I used 2 shades of peachy-pink, an apple green, 2 shades of teal-coloured yarns (one flecked) and a darker green).
Oh how I regretted that lack of planning later when sat on the floor painstakingly joining the bloomin' things!
If only I had looked on Pinterest earlier, and seen the many, many, photos and lovely clear instructions for JOINING AS YOU GO.
Ironically I was looking for ideas on how to join the hexies other than using the slip stitching method, thinking I could maybe try something different, when I saw join as you go - talk about rubbing my face in it.........
Yep, I could have saved myself not only the trouble of crocheting the shapes together, which, although using the relatively quick and neat method of slip stitching, looks pretty naff when you have multiple coloured motifs. But I could also have had a scarf that looked as good on the back as the front. And try as carefully as I might, the even more laborious weaving in the ends (which I did as I went after joining a motif) has still resulted in the odd fluffy cut end being seen.
So the back of the scarf isn't exactly perfect. Better not seen.
Anyway. Lesson learnt for next time.
I am still pretty pleased with the cheerful result, although my family are more than a little sceptical and view my masterpiece as being somewhat "naff" rather than the fun, arty little bobble-trimmed scarf that I try to convince myself it to be after all my hard work. Beauty being in the eye of the beholder.
So after crocheting numerous little hexies, which soon stacked up pretty quickly, (about 10 mins a hexy) it started life like this - but then I decided I didn't like the apple green trim, so ripped it all out.

The turn in the weather has fired my enthusiasm for some crochet, and as usual one project on the go is not enough.
So the cushions I mentioned in my last post have been abandoned for the moment in favour of the scarf I mentioned in same post.
As usual I threw myself into crocheting my chosen shape, a hexy, without much thought other than to produce as many of them as I could in as short a space of time, using yarn (DK) in my stash in the colours that took my fancy. (I used 2 shades of peachy-pink, an apple green, 2 shades of teal-coloured yarns (one flecked) and a darker green).
Oh how I regretted that lack of planning later when sat on the floor painstakingly joining the bloomin' things!
If only I had looked on Pinterest earlier, and seen the many, many, photos and lovely clear instructions for JOINING AS YOU GO.
Ironically I was looking for ideas on how to join the hexies other than using the slip stitching method, thinking I could maybe try something different, when I saw join as you go - talk about rubbing my face in it.........
Yep, I could have saved myself not only the trouble of crocheting the shapes together, which, although using the relatively quick and neat method of slip stitching, looks pretty naff when you have multiple coloured motifs. But I could also have had a scarf that looked as good on the back as the front. And try as carefully as I might, the even more laborious weaving in the ends (which I did as I went after joining a motif) has still resulted in the odd fluffy cut end being seen.
So the back of the scarf isn't exactly perfect. Better not seen.
Anyway. Lesson learnt for next time.
I am still pretty pleased with the cheerful result, although my family are more than a little sceptical and view my masterpiece as being somewhat "naff" rather than the fun, arty little bobble-trimmed scarf that I try to convince myself it to be after all my hard work. Beauty being in the eye of the beholder.
So after crocheting numerous little hexies, which soon stacked up pretty quickly, (about 10 mins a hexy) it started life like this - but then I decided I didn't like the apple green trim, so ripped it all out.


So then we had the plain, naked scarf again.


But it somehow looked unfinished

So I tried again adding an edge in a different colour this time.
For anyone wondering how I got this far with my scarf, I used a motif from Crochet Adorned by Linda Permann.

I made her Flower Hexagon using a 4mm hook........

and then added her Picot Flowers edging in teal to the finished scarf - after crocheting a row of single crochet all the way round the edge of the scarf, I went straight to row 2.(the pattern is for edging to attach)

So the final scarf has a flirty little fun bobble trim which goes all over the place (which was the sort of effect I was after to soften the shapes)

And here we have a few poor photos of me trying to take a picture wearing my "creation" in various different ways.....
over the shoulder.......

why is it so hard to get a clear photo of oneself?????
over both shoulders.......

over both shoulders.......

Clearer....worn hanging down


over the shoulders again ......


So there we have it.
A finished article for once - for me that's an achievement in itself!
What are you making at the moment?


