Loyal readers of my blog may remember that a couple of posts ago here, I left you with a bit of a teaser about a simple project that I had made.

Now that I'm back online I'd like share that project with you, and show you how I covered a notice board (or pin board) with fabric, so that I would have somewhere to pin inspirations, business cards and anything else I wanted to have to hand in my (newly tidied) sewing room.
I'd been looking around for a padded fabric-covered noticeboard for a while without any success. A year or two ago they were everywhere. The odd one I did find was either too small or too expensive, so I decided to have a go at making my own.
First I sourced a large pin board (cork covered board) from an office supplies company via Amazon - they seemed to offer the best price. I paid about £8 for a large 2' x 3' wood-edged cork board.

Other materials and equipment needed:
Fabric - enough to cover the board with several inches spare all round
Polyester wadding
Heavy Duty staple gun (that fires direct into a surface)
Staples
Scissors
Wall fittings of choice
Backing fabric (optional)
Ribbon or trim (optional)
***
Tutorial - How to Cover a Pin Board

First, lay out your fabric and place board on top (see above). (Be sure when using geometric repeat patterns, stripes and checks that the fabric is lined up correctly, parallel to the board, otherwise you could end up with a wonky front!)
Cut around board allowing approximately 2" to 3" extra fabric (depending on depth of board) for folding over to staple at back of board. Better to allow too much than too little as you will trim away excess fabric later.
Iron fabric and set aside.
Cut out the wadding in the same way allowing plenty of extra to fold over to back of board.
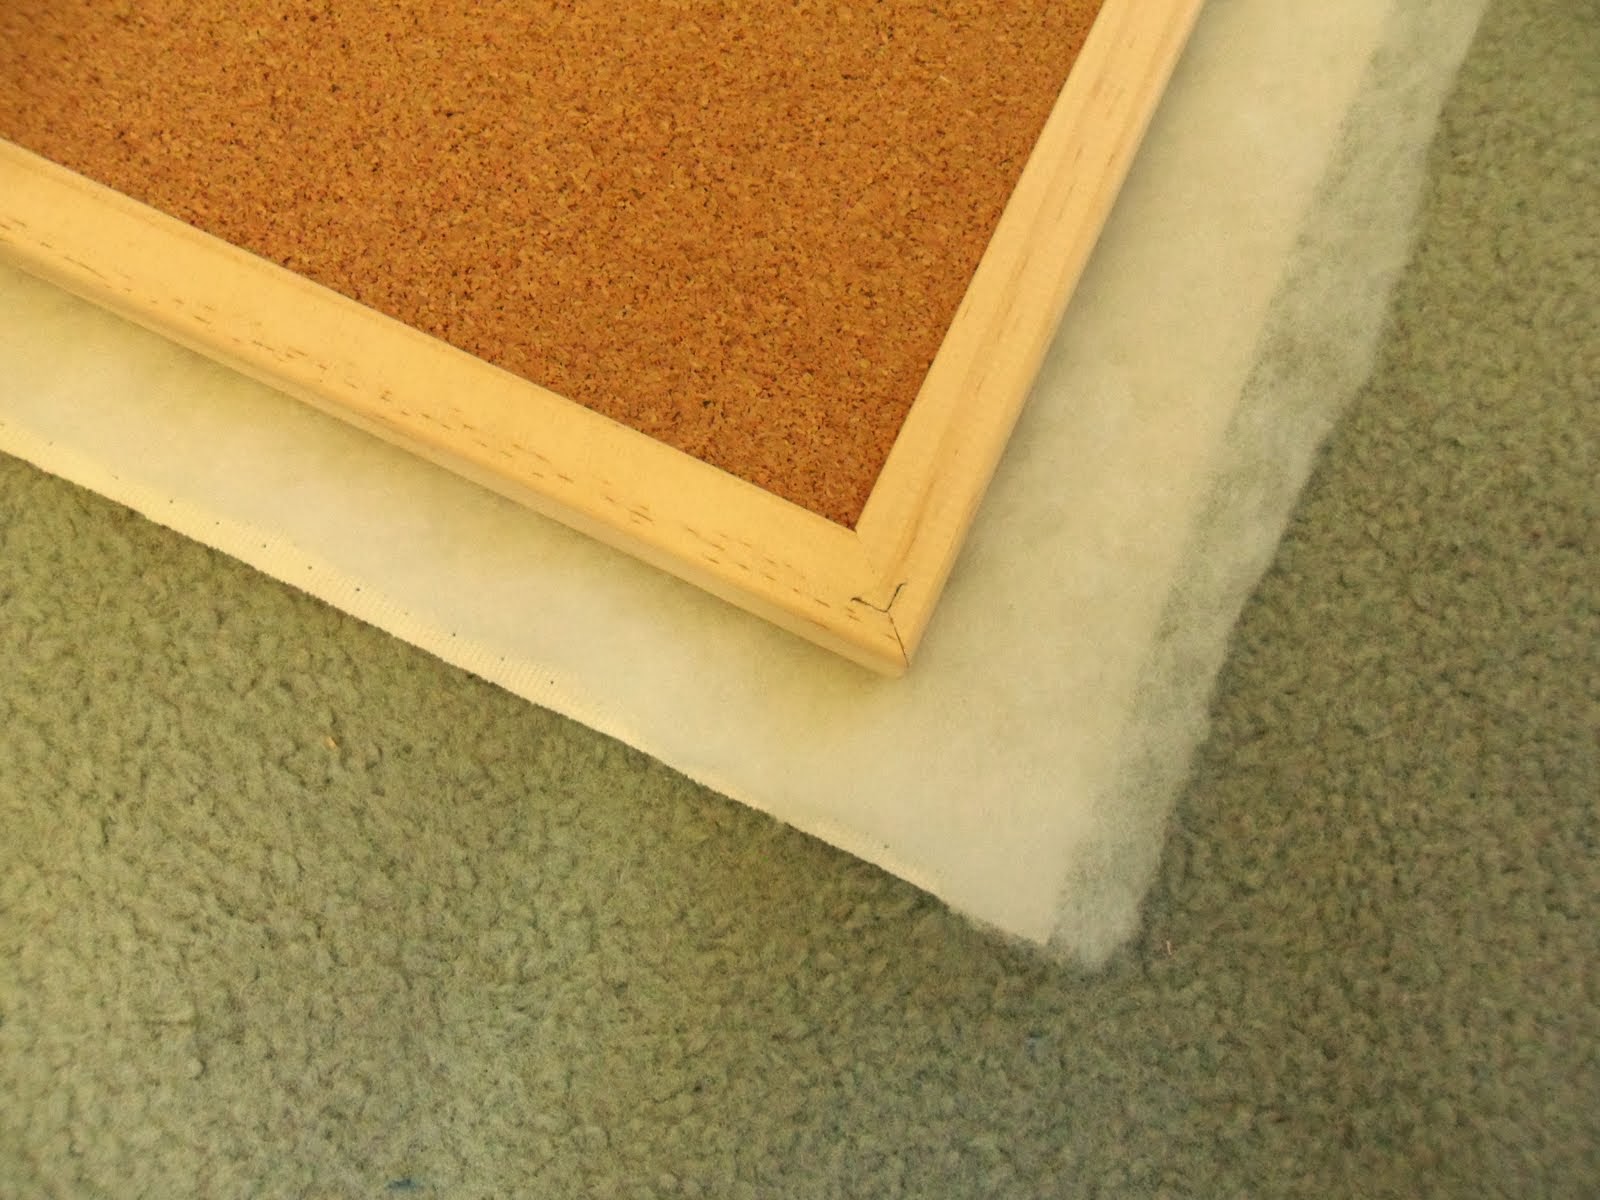
Next, lay the fabric right side facing down (wrong side facing up), then place the wadding on top of the fabric, and the pin board (wrong side up) on top of the wadding (see above).

Starting in the middle of one long side, pull the fabric up taut around the side of the board to the back, and holding down firmly, staple into wooden batten surrounding cork board. Be careful not to pull too hard that you pull the fabric out from under board and away from other side.
Add a few more staples either side of the first centre staple, then repeat on opposite long side of the pin board, pulling taut so that the fabric lays flat on the right side.
Once you have a few staples in place on both sides, you can then continue evenly down each side until the corner is reached.

Staple up near the corner then make a neat mitre fold as below.

Staple corner (see below) and continue along top (or bottom) of board and repeat cornering.

When you have finished stapling all four sides and four corners, check that the front is looking neat and taut.

Trim away excess wadding and fabric, roughly in line with edge of wooden batten.

Continue trimming all the way round until back of board is finished.

The back should look something like this (see below) when you have finished trimming

And, fingers crossed, it will look neat and taut from the front, with any pattern lined up neatly in a straight line parallel to the top and sides!

Voila!
Now, should you wish to do a "proper job" on your board, you can now cover the back so that no raw edges or back board shows.
At this stage I just wanted to get my board up and into action, so I didn't bother, but if you did want to, then you would measure a piece of fabric the same size as the board, then turning under a hem all the way round you could glue it into place over the staples, or indeed just staple it into place.
Also, if you wanted to add the ubiquitous ribbons, useful for poking cards etc under, and for making it look more decorative, you could add criss-cross ribbons, stapling them behind the board.
You would add the ribbon before the backing if you were going to do both.
I wanted a simple board without further decoration so I put mine up as it is.

I fixed two hooks to the back of the board, one either side, pushing back the wadding and fabric to do so.

I then added picture wire (string would do) and hung my board onto a hook.
You, of course, can fix it however you want, and whatever suits your walls best.

So there it is - a fabric-covered pin board in it's simplest form.
But you could use any type of fabric and make it as pretty as you want with ribbons or braid.

I hope this may help anyone who fancies having a go at making their own fabric-covered notice board - it's very quick to make, probably less than an hour!
I have a few more new projects to share next time, and maybe another "How to".........here's a little sneaky peek ........

Hope you all have a good weekend - Friday tomorrow!